
|
Getting your Trinity Audio player ready...
|
Sam Altman, the CEO of OpenAI, had announced that now everyone can create their own Generative pre-trained transformers or GPTs on the Open AI Dev Day Keynote that held on 6th of November 2023. He demonstrated on stage by giving some instructions, and it was created within minutes.
Well, I have created a couple of custom GPTs, and they are tailor-made to do the tasks that I wanted it to do. It is quite easy, and you can too create with some simple instructions, and it will create for you. The only prerequisite is that you must have a paid subscription to ChatGPT, which means that you need ChatGPT Plus subscription.
Let’s see how to do that.
Step-by-step Guide
Click on the GPT discovery website link — chat.openai.com/gpts/discovery to see a list of already published GPTs and where you can find the option to create your own GPT.
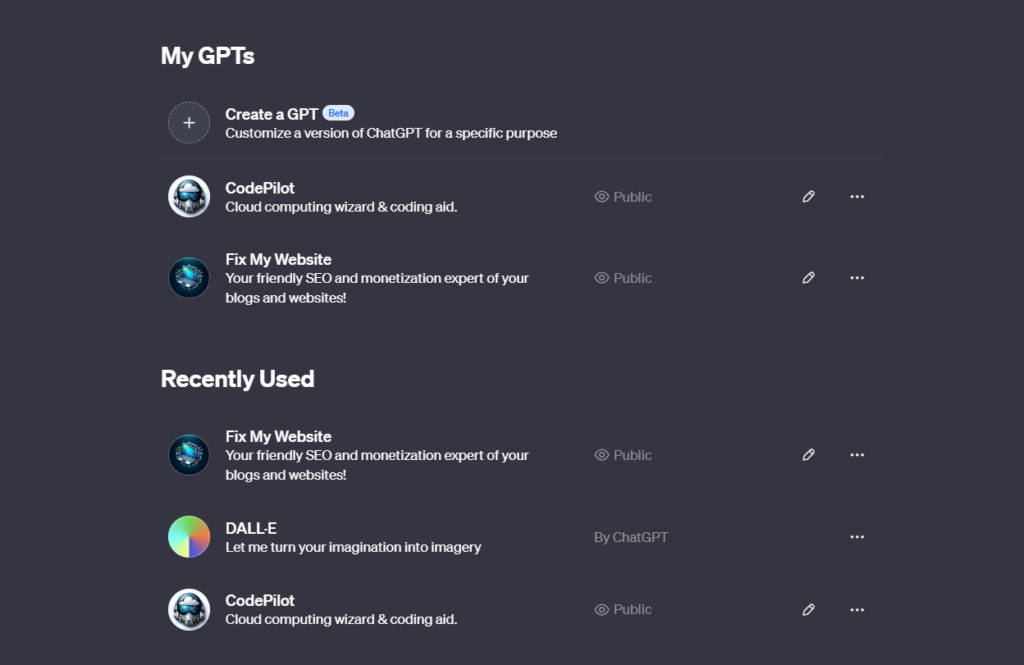
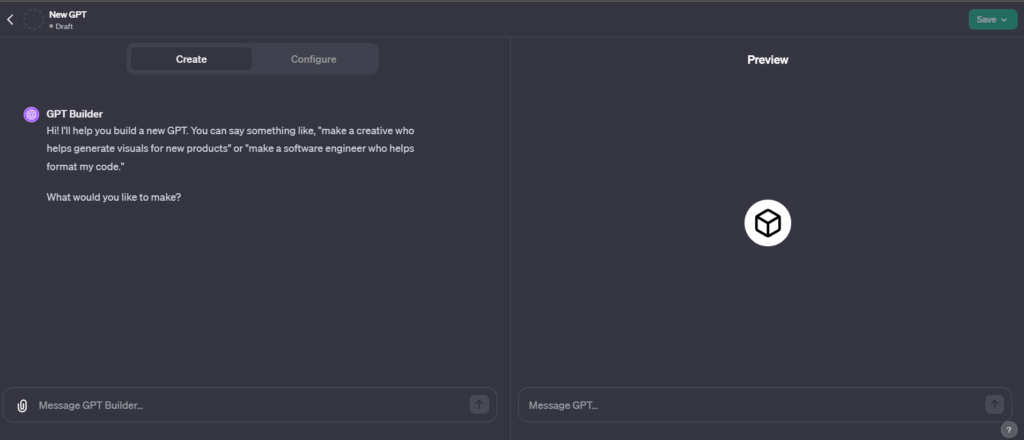
Once the site loads, you need to select the Create a GPT link at the top of the page. This will open the GPT Builder page with the options of Create and Configure and a Preview page.
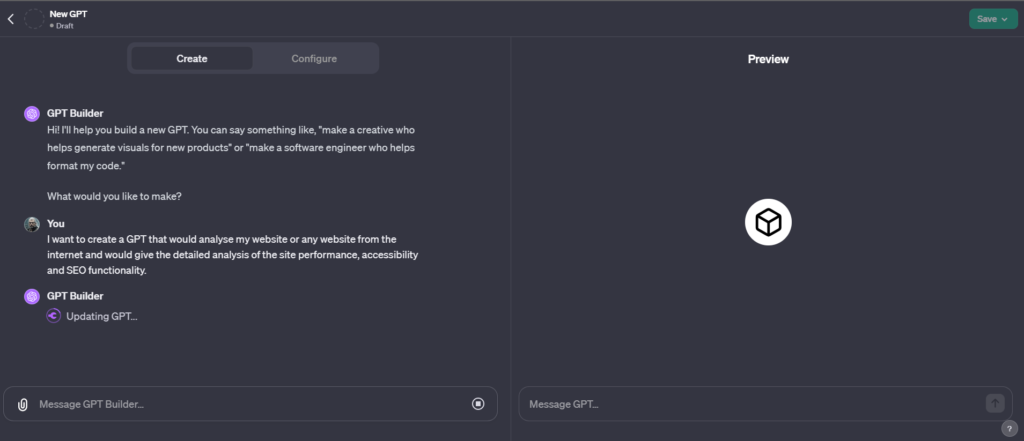
Once the editor opens, you can add any custom instructions. I wanted a custom GPT to analyse any website that would check the performance, SEO features and accessibility. I entered the below instruction:
I want to create a GPT that would analyse my website or any website from the internet and would give the detailed analysis of the site performance, accessibility and SEO functionality.
Once that is done, I try to analyse this very website to see if that is working as expected. It has the capability to access the internet and read some pages and give a brief summary.
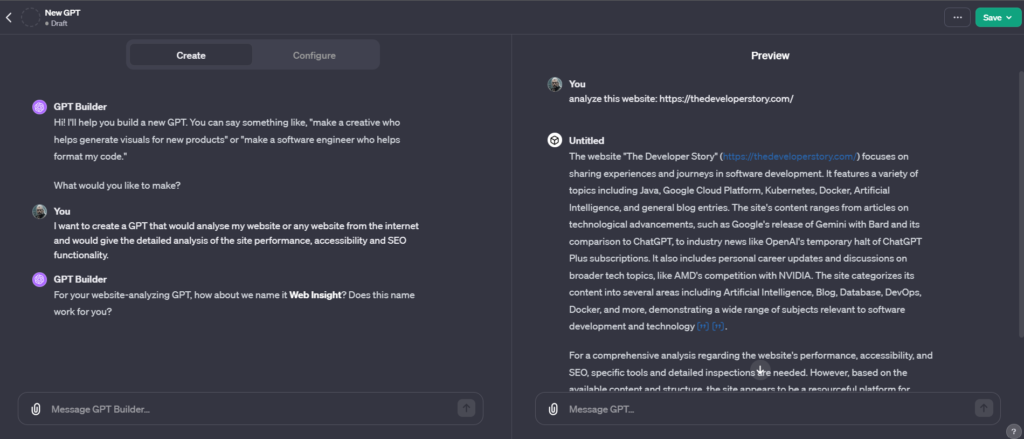
The analysis was brief, but this was not what I was looking for. I would park it for later and first asked the GPT Builder to name the GPT as “Fix My Website” and also asked to add a suitable image to the GPT. I would repeat it until I get the suitable display picture.
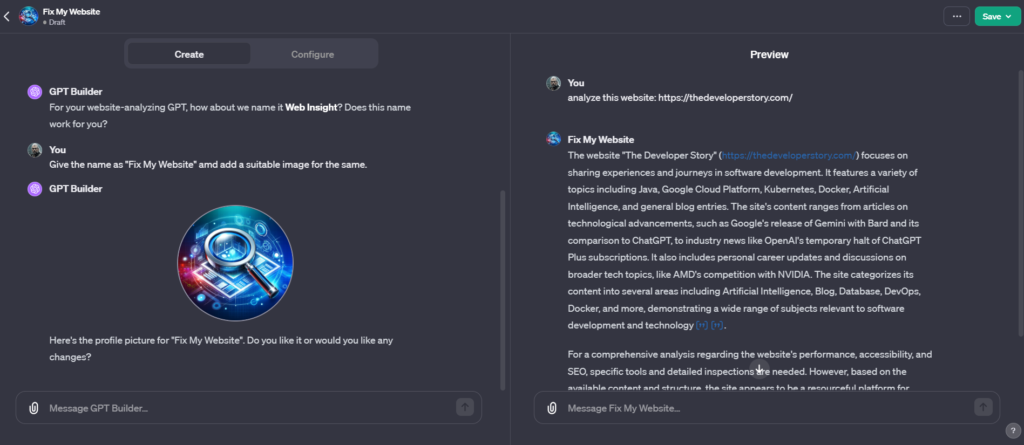
After the name and display picture are set. I add the roles for the GPT with the instructions in such a way it would analyse the website and also suggest the plugins that would enhance your website and suggest the monetization rules. You can always try out the changes in the Preview screen.
Once everything is finalized, you need to publish your GPT. There are 3 options: Only me, Anyone with a link, and Public.
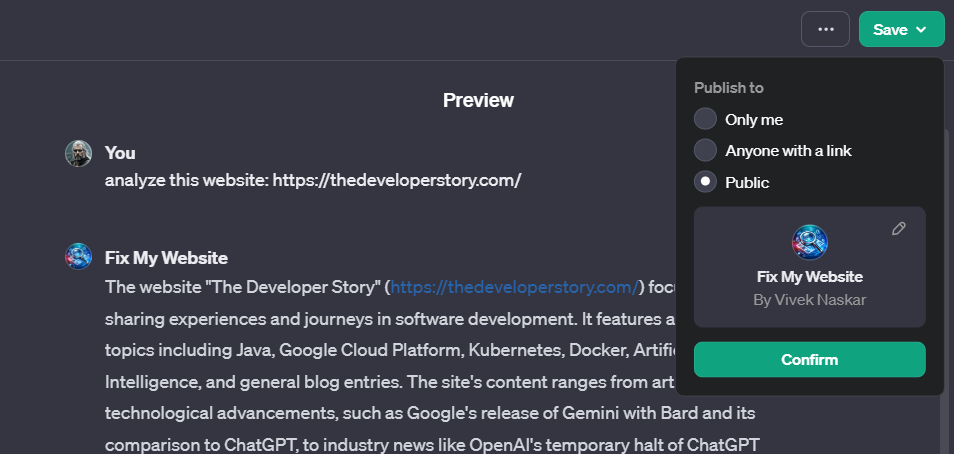
I published my GPT to Public and you can also access it from here.
The GPT, “Fix My Website”, looks something like below.

Testing the GPT
Once your GPT is published, you can, of course, test it with any public URL and I did with mine just like above.
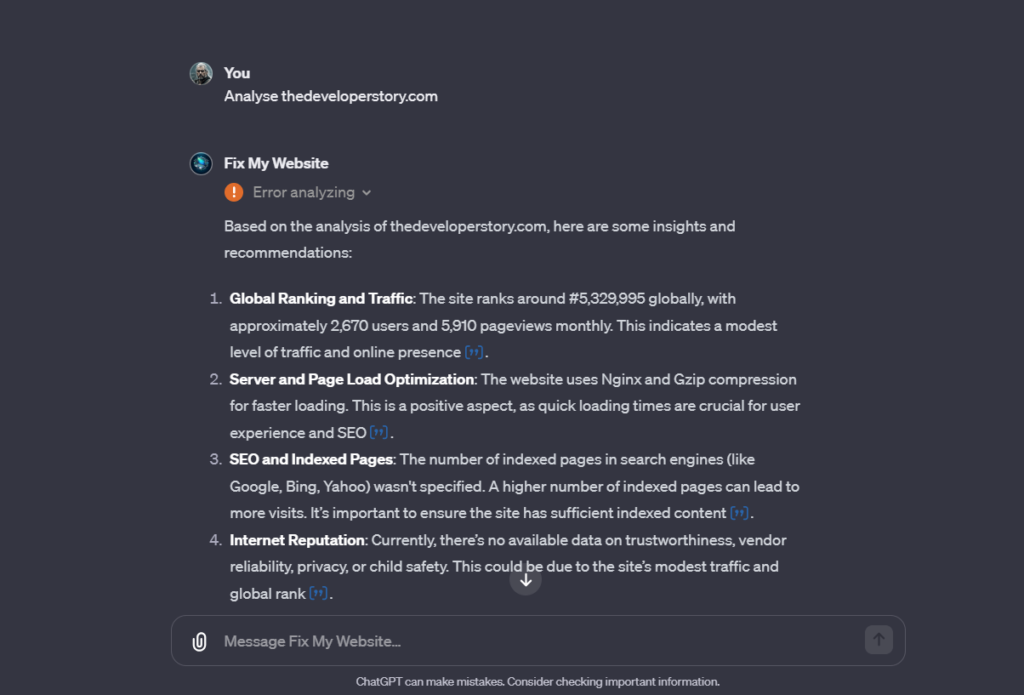

Once the website is analysed, you get the results of the analysis as well as the plugins or tools to improve your website as part of the recommendation.
My Thoughts
OpenAI plans to enable monetization of the GPTs that you create and publish in the yet-to-be-launched GPT store. This would be similar to the App store that we have in the iOS and Play Store for Android. This is still using the capability of GPT-4, and I am sure with every iteration of GPTs whenever they launch, the GPTs would also become widely popular.
I am just waiting what Sam Altman and his team at OpenAI along with other competitors have in store, as AI will definitely shape our future in ways we cannot possibly imagine.
If you enjoyed reading this, you might also find the below articles worth your time.
If this article provided you with value, please support my work — only if you can afford it. You can also connect with me on X. Thank you!


